Archive

Blog

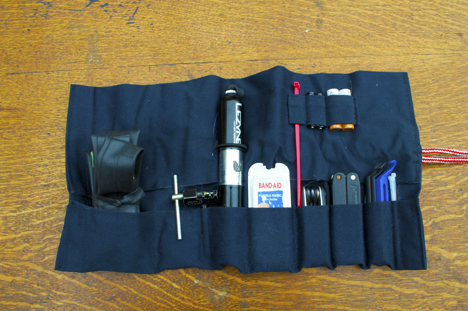
Here’s my first attempt at a roll-up pouch for my bicycle tools. I’m still learning my way around the sewing machine, and I made a whole lot of mistakes, but I’m pleased with the results. Click on above image for higher res pic.

The fabric is left over scrap from a pair of Dickie’s pants I made into shorts. Tools from left to right: Spare tube, chain tool, air pump, self ahesive patches in a Band-aid container, cable ties, folding hex key set, folding pliers mulit-tool, batteries, tire levers, more cable ties. Not pictured: rubber gloves, spoke wrench, two hose clamps. Two lengths of rope sewn into the end provide a means of cinching it closed.


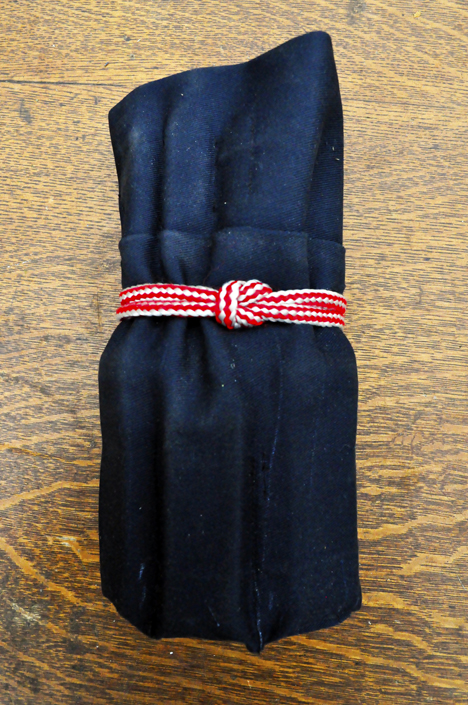
I use two knots to tie up the roll. First is a reef knot, a relatively secure knot that won’t slip, but still very easy to untie.

After the reef knot, I turn it over and tie a granny knot to tidy it all up. The granny knot unties very easily, but I’m assuming the vibration from the road isn’t enough to undo it.

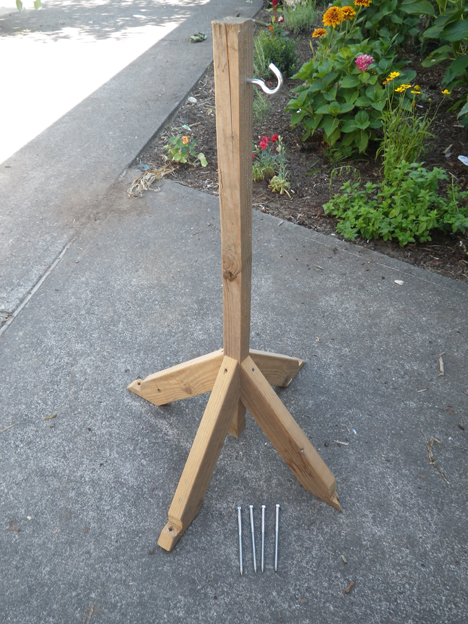
Bonus! It stands up! Wasn’t expecting that.


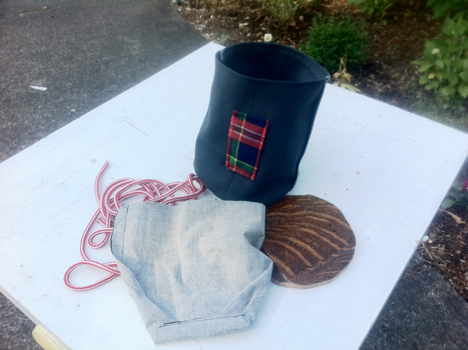
I definitely learned a few things about sewing—and the limits of my machine! Don’t try to sew through elastic cord on a non-industrial machine—throughout the process. I’m looking forward to making my next one, made in a gorgeous two-sided vinyl (shown above) I bought at Scrap.

I think we can all agree this is a bit of an upgrade from my previous “tool roll” I’ve been using for the past two years, a tyvek envelope.


I bought one of these wire bending tools but never really put it to much use yet. I gave it a spin tonight and tried my best to model a bike rack. I’ve on and off have been coming up with ideas for a re-design of a rear bicycle rack. I’ve got a few sketches down so far, but I needed an actual physical model of an existing rack on the market for me to play with and to help with the ideation process.

So anyways here it us. The wire is from a coat hanger and the hideous gobs of yellow are hot glue. Not exactly the right fastener for the job, but it works. My original plan was to “sketch” with this wire to come up with different designs but I’m realizing the wire is just way too thick and isn’t quick enough to work with. It will be saved for more realized models down the road. For now I’ll have to find a thinner gauge wire to work with.

Here’s some projects I screwed up recently. While making Jorie’s pencil stand thinger, I failed. A lot. Three times to be exact. I drilled through the wood on two accounts, and overall I was never comfortable with my build quality on all of them. Mis-aligned holes here and there, sloppy craftsmanship, definitly not up to snuff for gift giving.


The second is a hammock stand I mocked up. Doing a quick search online I really hated how every free-standing hammock stand I saw was unsightly and offensively large. I tried to think of a more elegant solution where one side is held with a tripod-like structure with 8” carriage bolts anchoring it into the ground, while the other was tied to a tree.

It didn’t work. At all. And even broke. A lesson in over-designing and over-thinking a solution was definitely learned, as my roomate suggested that I simply extend the hammock with a rope between two trees. At least I got to play with my neighbor’s chopsawthough, which is always fun.


Wrapping up, writing this reminds me of a wonderful lecture from one of my DIY and design heroes, Adam Savage, on the lessons of failure and how it has made him who he is. Worth a watch if you’ve got ehh… 58 minutes to spare.


A night of sewing —hemming cutoff shorts—was unexpectedly extended a few hours when I decided I needed to make a climbing chalk bag with the left over leg sleeves. Since the material is so light I put in a scrap piece of wood so it can stand. The lining is material from a rain jacket I found. I’m assuming it’s PVC. Anyways as a beginner sewer I certainly learned a few things with this project.

The cinch I put in at the rim of the bag doesnt work at all. After stiching three layers of fabric plus the lining didn’t make it very pliable, so it doesn’t close all the way. So for right now, until I come up with another solution, I’m tying it closed with a clove hitch. I took it to the gym today and it worked just fine.


I made a late birthday gift for my good friend Jorie of Anntorian.com. She’s the one that made me my wonderful pocket protector, so I had to return the favor. Anyways she’s been digging this Etsy artist’s pencil stands (see below) for a while so I figured I should make her one, though with a few modifications.

Continue reading below for the rest of the pictures as well some construction photos.


Process: Cutting, mitering, drilling, fitting, glueing, bondo, sanding, priming, painting, clear lacquer.